Showing posts with label teardown. Show all posts

Sunday, August 21, 2016

Dewalt 14.4 Volt Teardown

When I first bought my dewalt drill, I got a great deal in my opinion. I got the drill, charger, case, bit set, and 2 batteries for $100. That was about 3 years ago. Well, one of the batteries finally dies on me. So I decided to take it apart and take a look before trashing it.


So here's the battery. Lightly used over the past few years I'd say. I noticed it didn't hold much of a charge and marked the bottom with a piece of tape since it was going bad. One day it finally held no charge at all.


Here's the bottom and model number DW9094.


Once you remove a few torx screws on the top, you're in.


The battery pack is what I expected. A bunch of single cells in series to get to the 14.4 volts needed. The top and bottom of the pack had some cardboard and tape to keep it together as more of a structure.

Once the cardboard is removed, you can see the series hookup for the batteries.


I clipped all of the connections and tested each cell for voltage. I expected maybe a few dead cells and some with a few bits of charge left since it hadn't been that long since I last tried to charge it. But all of the betteries registed no voltage. In a way that makes ssense since this was a series hookup though. If one cell died completely, that would break the circuit and no cells would be getting a charge.


So I decided to keep the cells since it'sl likely some may still be good. Though honestly, probably not good enough to do anything with. The battery case though, that may have some use. I may look in to putting some lithium cells with safety ciruitry in it. There's a lot of space in there to try and use.


Wednesday, December 23, 2015

Cheap Flashlight Teardown

Chances are, if you've searched for an led flashlight online then you have run across one of these cheap lights.


These lights are very cheap, take a single AA battery, but surprisingly they work very well. I have many of these around my house for when the power goes out. They are small, focusable, great battery life, and put off a good amount of light. For the price, I have nothing bad to say about these lights and I recommend buying them.


But here's a simple teardown of one.


First off, here's the light in all it's glory. Measuring 94mm at it's length and 26mm at its thickest point.


The button at the back is a simple on/off click button. The light itself has 3 different modes. A high, low, and flashing setting. Clicking the light on and off or pushing the button part way allows you to switch between modes.


You can unscrew a ring on the front and remove an O-ring and lens.


You can see in the above photo there are two opposing notches in the silver part of the reflector towards the outside. But using my caliper I was I able to insert the caliper edges in to those slots and unscrew the unit from its housing on the main body.


I wasn't too sure where to go from here and thought maybe the led unit was all glued together. But then I kept messing around with it and was able to remove that plastic ring and reflector bit. This then exposed the led module. The led is a Cree XR-E or XR-C (probably the lower model XR-C) from what I could look up. There's not any specific model identifying information but it does look like one of those two models. Cree makes a good led so this is nice. From my testing, this led seems to be the best at 3 volts and 400 ma current draw.


Now when I removed the led, I noticed some circuitry behind it. This wasn't what I was expecting to see there. I figured the led was going to be the only thing at the front and the circuitry was going to be in that clicky switch in the back. Nope, all the circuitry and driver was right behind the led.


And that's that. Overall these are great little lights for the price.


Wednesday, October 21, 2015

WD-40 Turbo Air Blower Teardown

Using canned air to clean electronics is pretty useful. That is until it runs out. That's where the WD-40 Turbo Air Blower comes in. Or where it should come in I should say. It lacked in performance ever since I got it on Woot many moon ago. For some reason I've held on to it, but I finally decided it's time to tear it apart. Let's do this.


Here it is in all its glory. Standing about 12 inches tall, it's self contained in a nice aluminum body with a single switch on the side and a charging port on the bottom. And, uh, ignore the sticker.


So where do we start, well the only visible screws are in the air intake area which is touch to access. I got to them and unscrewed them but that didn't seem to do anything. Looking closely it looks like it was just to mount the motor to the inner plastic housing.


So how to get the plastic housing removed from the aluminum? Well a little tinder prying and the top came off. After much prodding and prying though, I still was unable to get the inner housing out. So I flipped it over and with some more tender bench vice grips and hacksawing I was able to get the bottom out.

 Immediately removing the bottom and you see the battery pack which is just a 4 cell NimH pack. 


Interestingly, the power wire ran through the middle of the 4 pack of batteries with an open spot in the wires middle to connect them to the battery terminals.


Battery specs.


The cell pack was dead so before tearing it apart too much, I hooked it up to a bench power supply and was able to get a max speed out of about 16 miles per hour. 


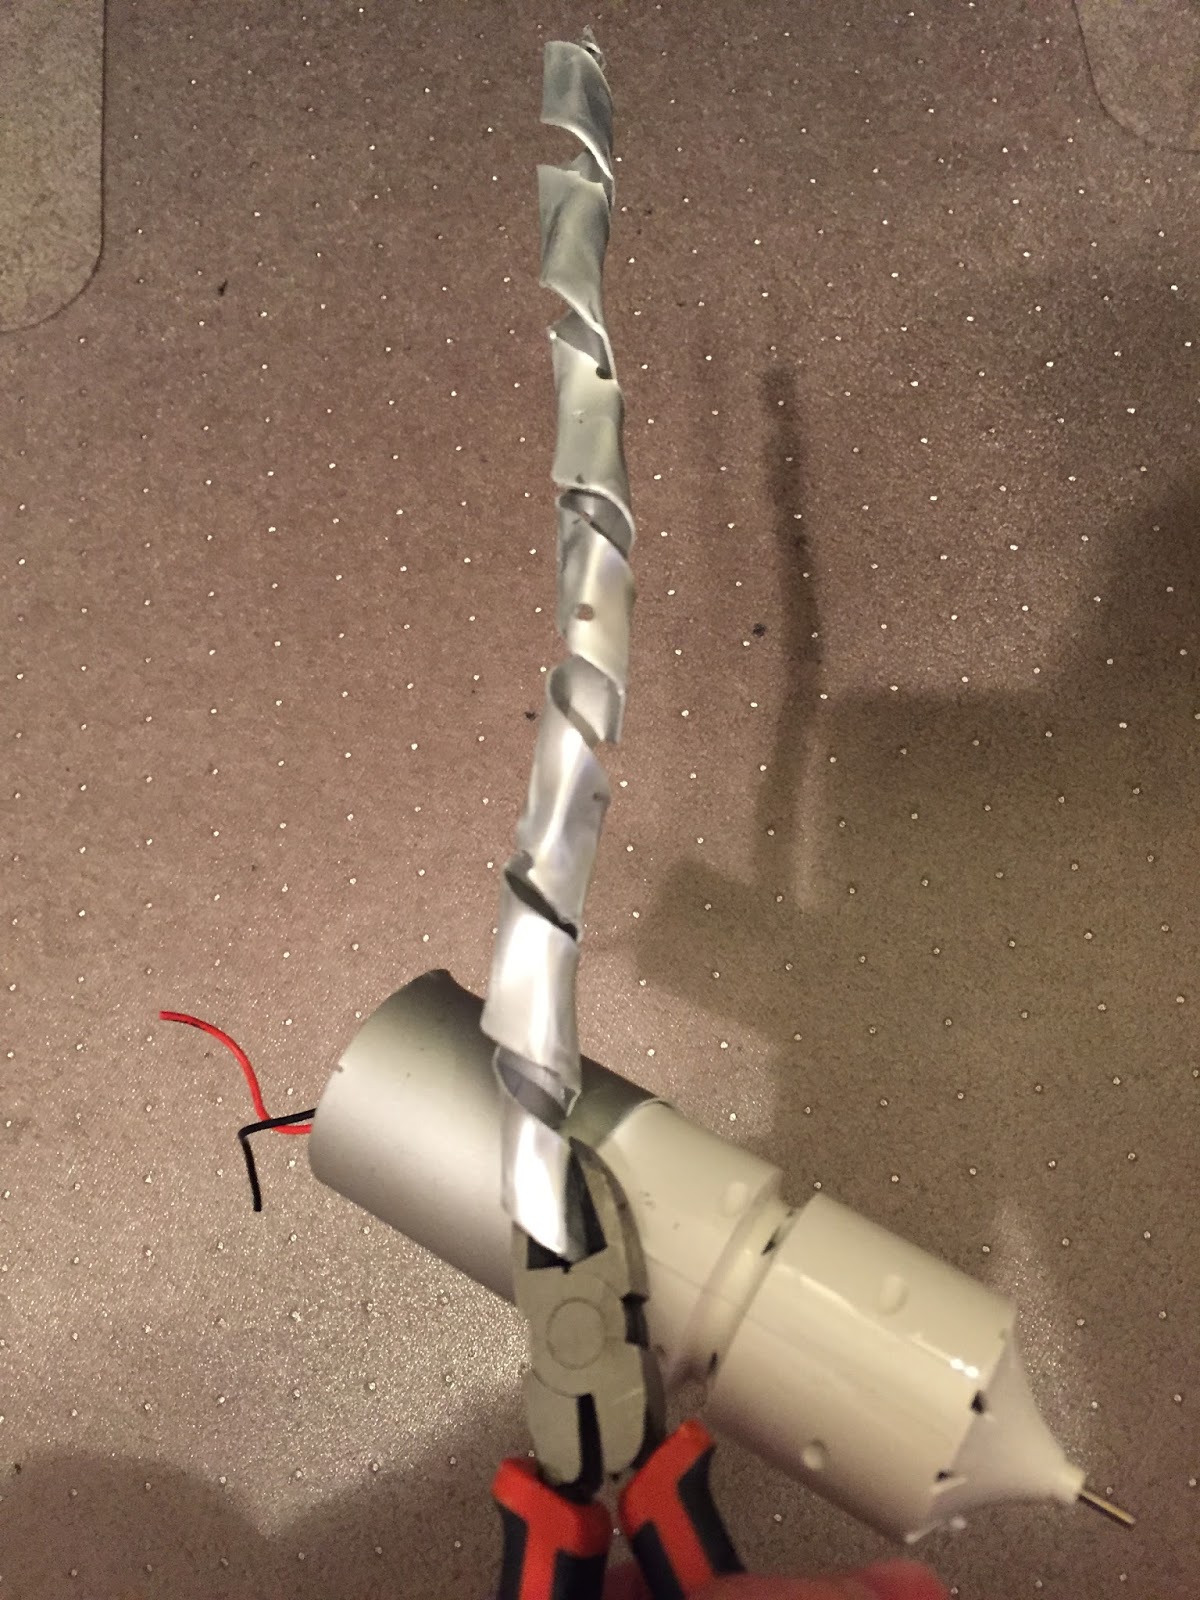
So after a lot more tinkering, it appeared the inner plastic housing was pressure fitted inside the aluminum. I trying pushing it out but the aluminum just started bending. Interestingly, it was pretty easy to peel with cutters. So I started peeling.


And peeling and peeling.


Finally the goodies.


I was afraid at first (before removing the housing) that the surface mount switch was taking the entire load of the motor which was a few amps. But they actually did have it set up with a Schottky transistor format. 


The takeaway is that this was just a simple motor with a fan on it. Pretty uninteresting even by my standards. But now I have a nice little motor with a turbine that fits the shaft.